How to Make a Small Bento Cake: A Fun and Creative Sweet Treat

What is a bento cake?
A bento cake is a small cake, so taking the idea of an individualised lunch and applying it to the cake. For this post, I will be sharing how I make a 5” cake. This can be served on its own or presented in a box with many different treats and bakes. So a sweet bento box.
Where does Bento come from?
Bento is a Japenese style of packed lunch or meal containing protein, veg and rice. Sometimes they will contain fruit or dessert.
The word “bento” itself comes from the Chinese term “biàndāng,” which means “convenient” or “convenience.”
Bento has become popular around the world in recent years, with many people embracing it as a convenient and healthy way to pack a meal for work, school, or travel. In addition to traditional Japanese bento, there are also many variations that incorporate different cuisines and ingredients.
Why it’s a fun and creative treat to make
Making a cute cake like this is so fun. You can get creative with different cake flavours, frostings and decorations.
Adding other sweet treats or even just cupcakes allows you to show off your creative skills.
What is the difference between a Bento cake and a cake?
The size of the cake is the main difference here. Regular cakes are cake-sized, right?
Trends over the years have shown cakes get tall. Not particularly that wide just very tall. Many people want their cake a lot wider when I suggest the cake they need is a 6”. What they don’t realise is that a tall 6” cake will give 25-30 portions.
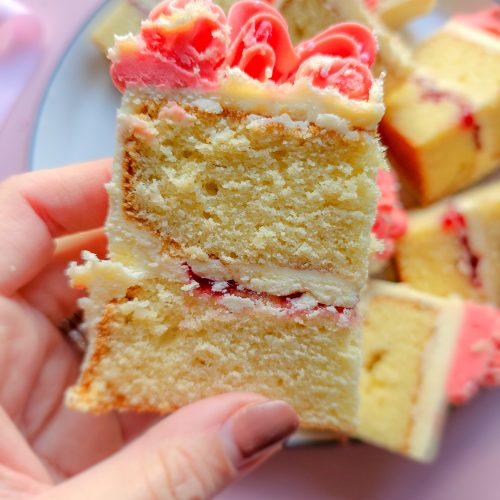
A Bento cake is a lot smaller and provides a customer/ recipient with a cake still but without the overwhelming amount that larger cakes provide. I have managed to get 8 decent cake portions out of a Bento cake. Bento cakes are perfect for a person wanting a personalised cake without resorting to cupcakes. Unsure of whether to bake a cake or cupcakes, then take a read of this post.
Jump to RecipeWhat size is a Bento cake?
I make my Bento cakes 5” but I have seen people make them 4”. Of course, they can be any size you want but 4” and 5” seem to be the most popular. Here is a 5” tin similar to the one I use
How long does it take to make a Bento cake?
Normally when making cakes, I spread this out over a number of days but as these are smaller, there is no need to do this. I do, however, recommend putting the cake into the fridge to chill once its been baked. Once a cake is chilled it is easier to cut off the crust and do a crumb coat on it.
You can quite easily bake a cake in the morning and have it decorated by later that same day, much like cupcakes. The decoration you are putting on it might have an impact on how long it takes.
How do I box up a Bento cake?
You can put these into little burger clasp-type boxes, similar to this. I like to put the cake onto a sheet of parchment paper when decorating it. This paper can be used to transfer the cake into the box and also pulling out of the box when you are ready to serve it.
Or you can use a cupcake box and cut the inner pieces to fit the cake.
You can buy boxes that are made specifically for this purpose also, this is a favourite of mine.
How can I modify a cake recipe to make a bigger cake?
The recipe below is enough to make a 2 layered 5 inch Bento cake.
If you want a deeper cake then I would suggest multiplying the mix by 1.5. The quantities I use for a deep 4 layer 6” cake are 3 times the mix below. This is more detailed in this post.
What equipment do I need?
Here is my absolute must list
- Bowl
- Weighing Scales (these are essential, don’t go guessing)
- A hand mixer I recently purchased this after mine finally packed in. I reckon it must have been around 10 years old and very well-used. So far so good! Given the bento cake is so small I don’t feel you need a stand mixer for the making of this cake. You might want one when it comes to making buttercream though!
- 5” Cake tin
- Spatula
- A sieve if your flour has got a bit clumpy, but honestly I don’t know when the last time I used a sieve for any baking, let alone this recipe.
Optional Extras
- Cooling wire rack
- Nozzles (take a look on my Amazon Store for some of my recommended nozzles)
- Piping Bags
- Gel/ Oil Colours (as per the nozzles, I have some recommended gels in my Amazon Store)
- Letter embosser or similar for personalisation.
Of course, these are optional if and when you want to add piped buttercream to the top of your cake. For now, you could coat the cake with some buttercream and pipe some blobs (no nozzle needed, just cut a straight edge in the piping bag) around the edges to make it look pretty.

What ingredients do I need for the bento cake recipe?
- Flora Buttery/ Margarine
- Caster Sugar
- Large Eggs
- Vanilla Extract
- Self- raising flour- on the whole I am not really that fussy about a lot of my ingredients (I don’t think it matters most of the time!). However, when it comes to making a light fluffy vanilla sponge cake, I like to use McDougalls Supreme Flour
- Batch of buttercream- see here for a basic buttercream recipe, along with tips around making it
How do I make a Bento cake?
Let’s get into the nitty grittys on how to make a bento cake.
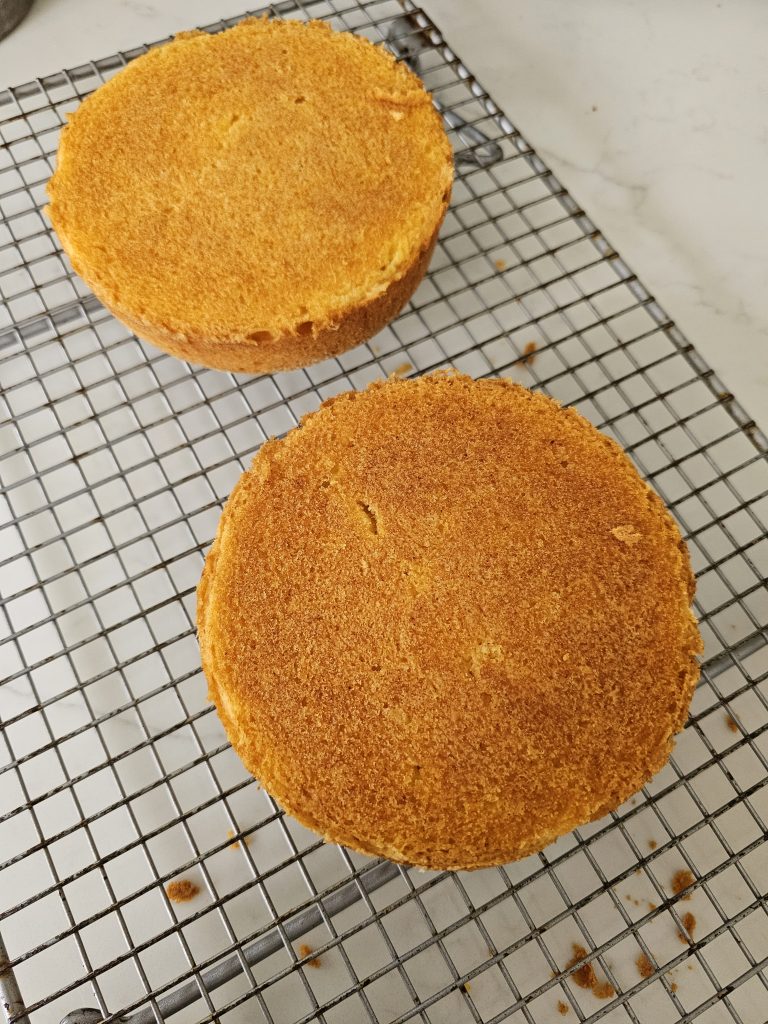
Once you have made the sponge cake as per the recipe below. Wrap the cake layers in cling film and chill until you are ready to layer and fill it with buttercream.
Jump to RecipeFirstly, ensure you have a batch of vanilla buttercream ready while the cake is chilling. You can make it in advance or prepare it when you’re ready to use it. You can find my top ten tips post on buttercream here or purchase my ultimate recipe here.
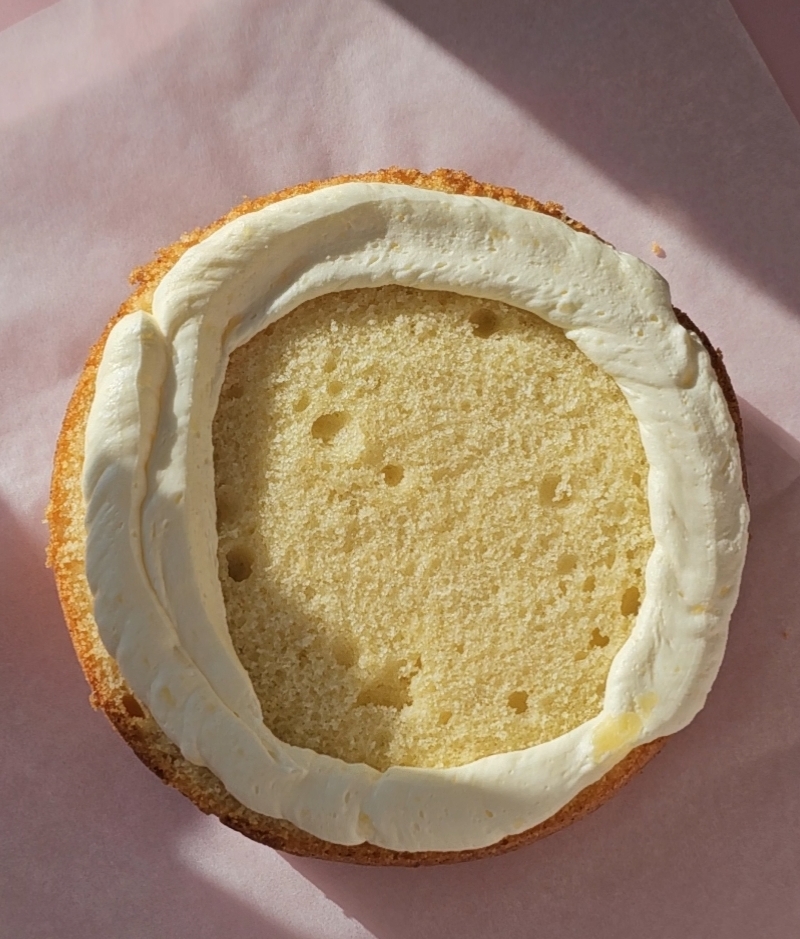
Remove the top of each cake using a knife or a cake leveller. Put a dab of buttercream on a square of greaseproof paper, slightly larger than the cake. Put the buttercream into a bag and pipe a ring around the first cake’s outer edge to create a dam and prevent jam from seeping out.
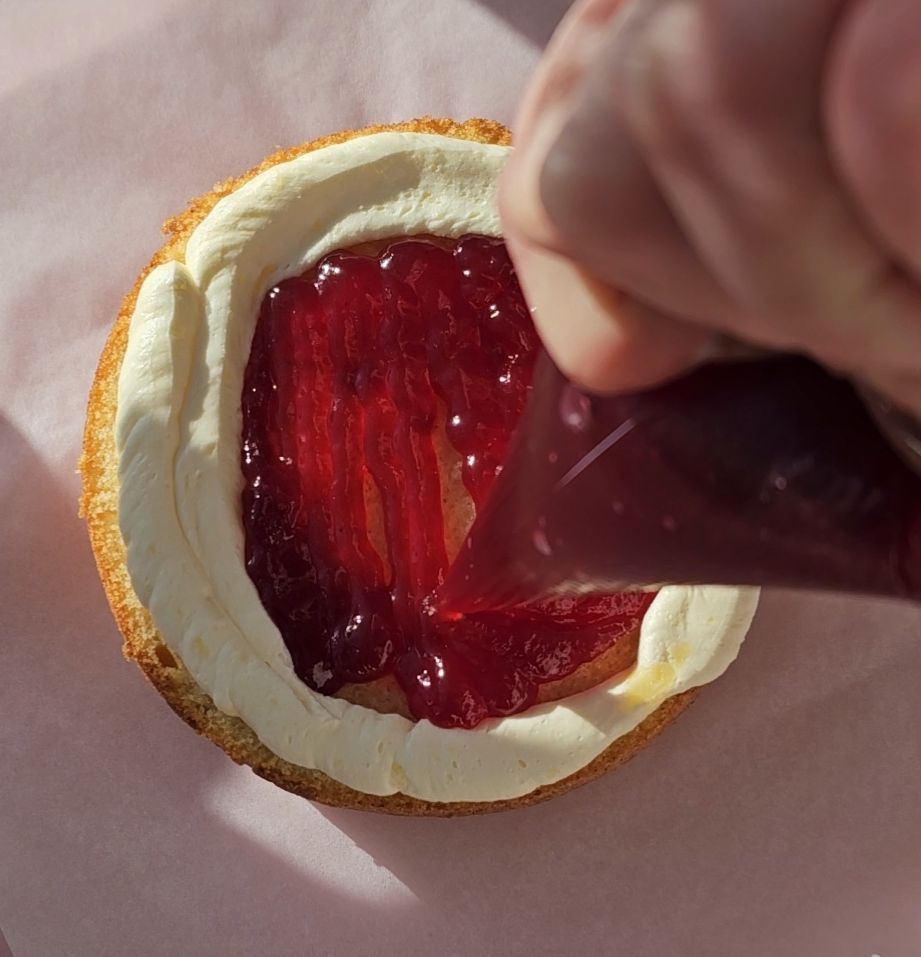

Fill the dam with your preferred jam. In this post, I’m making a vanilla sponge cake, but you can use other ingredients for the cake’s middle. Salted caramel is a favourite in our household.
Once you’ve added the jam to the middle of the buttercream, top it with some more buttercream. Refer to the video below for a quick demonstration.
Put the second sponge on top of the bottom cake. You can create a quick crumb coat by adding a thin layer of buttercream with an offset spatula around the sides and top of the cake. Chill the cake.
While the cake is chilling, you can make a fondant topper (if necessary) and colour your buttercream. I’ve used only one color for these cakes, which matches the color of the base buttercream, and just one color to pipe a beautiful border. You can use either gel colors or colourmill oils, both of which work well. See here
For the piping in this video I have used a 1m Wilton nozzle and coloured the buttercream with the colourmill oil in purple.
Using the base colour buttercream, cover the cake with another thin layer of buttercream. Pop your fondant topper on the top of the cake (if using). You can chill this again so nice and firm before placing it into a box.
Now the fun! Piping onto your Bento cake
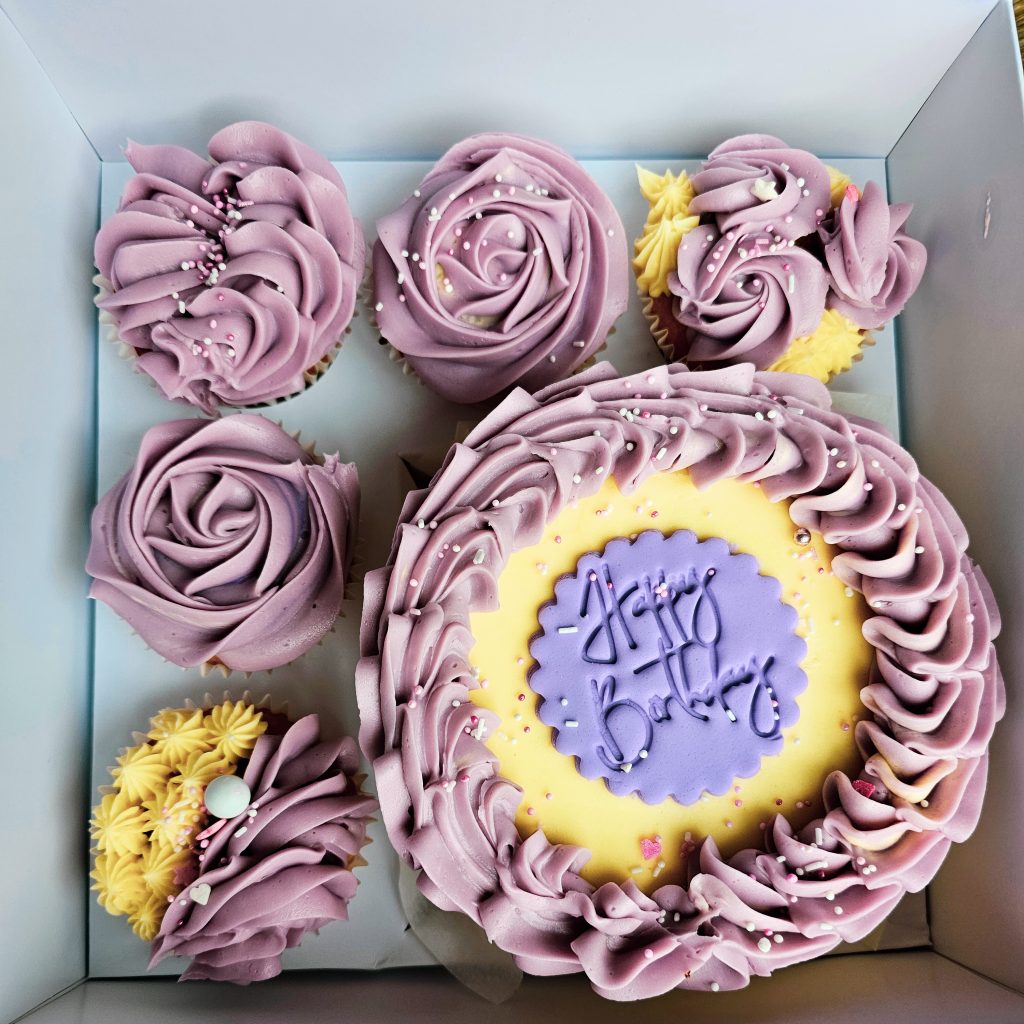
Starting at one side of the cake, pipe slowly in a circular motion continuing all around the cake. This is not only simple, requires one nozzle but is perfect for your Bento cake. You can add touches of other colour and /or use different nozzles but I prefer it just like this.
Finish off the cake with some sprinkles and there you have it, simple Bento cake! Keep this in the fridge until serving. Once you are ready to serve, bring it out of the fridge so it comes to room temperature. Perfect for a lunch box or a special occasion to share with a friend, or a few friends- I am not here to judge you on that. This cake can serve 8 people when cut like this
I love this latest trend of mini cakes and would love to see your creations. Once again Happy Baking
Bento Cake Recipe 5″ Vanilla Sponge
Ingredients
- 100 g flora buttery/margarine (take out of the fridge for around an hour before using)
- 100 g caster sugar
- 1/2 tsp vanilla extract
- 2 large eggs
- 100 g self raising flour
Instructions
- Preheat your oven 160 for fan oven, 180 non fan oven, gas mark 4
- Line 2 5" cake tins. I like to grease my tin with butter and sprinkle with flour, you can use greaseproof paper.
- Put your butter and sugar in a bowl and cream well with hand mixer, this should turn lighter in colour
- Gradually add the eggs and the vanilla extract into the mix, if the mix curdles, then add a little flour but this isn't necessary
- Once you have added all the eggs then mix in the flour by folding it into the mix. Make sure you scrape down all the sides to get all the mix combined.
- Pour the cake mix into the tins, for an even bake split the batter into the tins by using a weighing scale to ensure there are equal amounts in each tin.
- Make a dip in the centre of the mix so the cake doesn't bake too humped
- Bake this for 25 mins. A skewer should come out clear once the cake is fully baked
- Leave the cake to cool for around 10 mins before popping out of the tin onto a cooling rack
- Leave the cake to cool, wrap in cling film until you are ready to level and fill.



Love this recipe, but how could I make it into chocolate sponge, thanks
Aw thank you! So I would simply remove 1/5th of the self raising flour and replace with cocoa powder. Happy baking!
Hi, can you make the cake a day or 2 before and leave it in a cake tin before putting frosting or do you recommend to make the cake on the day?