Hop into Easter with Delicious Chocolate Covered Oreos

What are Chocolate Covered Oreos?
Chocolate Covered Oreos are a delightful treat that combines the rich, creamy flavor of chocolate (any type) with the beloved classic cookie, the Oreo. What more is there to say and indeed love!
The process involves dipping the Oreo in melted chocolate and allowing it to cool until the chocolate sets. For this post, I am not using a dipped Oreos method but using a mould to set the Oreo in chocolate. The result is a mouth-watering, decadent dessert that can be decorated in many ways. Or simply served as they are.
Chocolate Covered Oreos have become increasingly popular in recent years, especially at weddings, parties, and other special events. They are a delicious and easy-to-make dessert that can be customized with various flavours, colours, and decorations.
What are Oreos?
Seriously, you are asking me this?
Ok, so Oreo cookies were first introduced in 1912 by the National Biscuit Company, which is now known as Nabisco. The original Oreo consisted of two chocolate-flavored biscuits filled with a creamy white filling.
Nowadays, Oreos come in many different variations, and the cookie has even become a popular ingredient in ice cream and confectionery products.

Why should I make Chocolate Covered Oreos?
Urm, why not?
- They’re a delicious treat – by covering Oreos in chocolate, you create a rich treat that is sure to satisfy any sweet tooth.
- They’re easy to make – Chocolate Covered Oreos require just a few ingredients and can be made in just a few steps. This means it is a great opportunity to spend quality time together with the children while creating a delicious treat.
- They’re versatile – Chocolate Covered Oreos can be customized with different types of chocolate, toppings, and flavours. This means that you can create a unique and personalized dessert that suits your taste preferences.
- They’re great for special occasions: Chocolate Covered Oreos are a fun and festive dessert that is perfect for special occasions such as weddings, birthdays, and holidays. They can be arranged on a dessert platter or individually wrapped as party favours or gifts
- Once the chocolate has set around the Oreos, why not let the children decorate them and let their imaginations run wild?
How long do Chocolate Covered Oreos last?
Chocolate covered Oreos can last for up to 3-4 weeks when stored in an airtight container at room temperature. However, their shelf life may be affected by factors such as humidity, temperature, and the type of chocolate used. I am using regular chocolate in this post, but you can use Candy Melts.
Typically, Candy Melts have a higher melting point so will stay set longer in hotter climates. If you live in a hot or humid environment, it’s best to store Chocolate Covered Oreos in the refrigerator to prevent the chocolate from melting.
Can I make Chocolate Covered Oreos in advance?
As these last for 3-4 weeks, then yes! If you are creating these in large quantities for a special occasion or party then this will mean you free up time just before the event. If the weather is particularly hot then you will want to store them in the fridge.
How can I change the flavour?
This is really simple as you can vary the chocolate used to be white, milk or dark chocolate. Instantly changing the flavour of the coating.
You could also use Candy Melts which have a sweeter vanilla flavour. Of course, if you use Candy Melts then you can buy in the desired colour.
If you are using milk or dark chocolate then you will be unable to change the colour of them, unless you are after a black colour (think Halloween). Using white chocolate means you can colour it any way you require.
Do I have to use a high-quality chocolate?
No, you can use chocolate Candy Melts. I prefer to use white chocolate as it means it can be coloured to any colour desired. However, this does mean that you need to temper the chocolate. See this post for my easy method for tempering chocolate.
What do I need to make Chocolate covered oreos?
- Oreos
- Chocolate, I like to use chocolate chips
- Mould like this
- Colours if using
- Decorations where require
- Microwave safe bowls
What do I need specifically for these Easter Chocolate Covered Oreos?
- Mini eggs
- White and milk chocolate (I buy my chocolate in bulk from Henley Bridge ingredients, this link gives you £5 off your first order)
- Mini Eggs
- Piping bags (I use these for all piping)
- Oil colour, I used purple but anything will work (like these)
How to make Easter Chocolate Covered Oreos
Begin by gathering all the necessary ingredients and equipment. Aim for 80-100g of chocolate per Oreo, but adjust this amount based on how thick you want the chocolate coating to be.

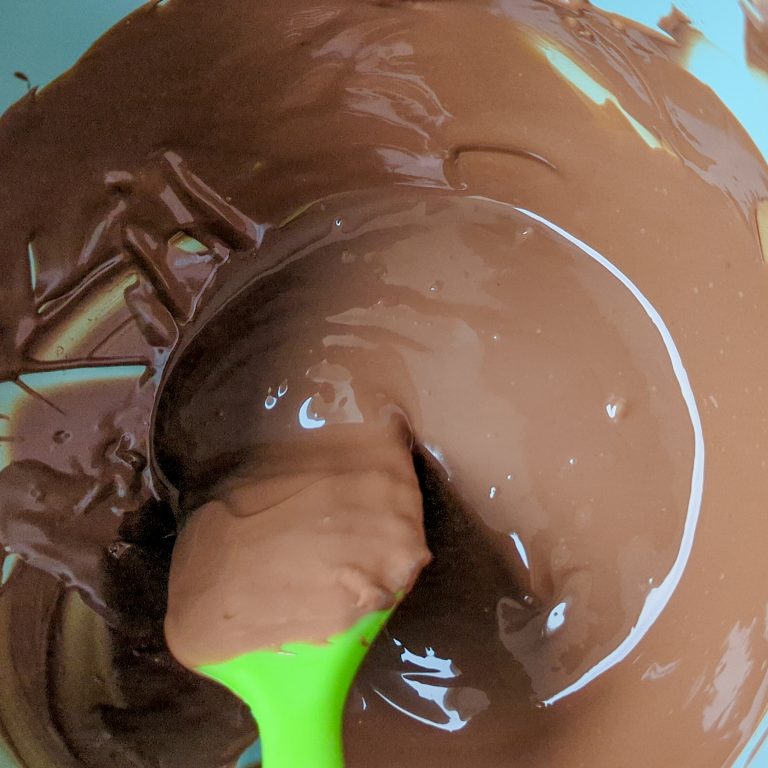
Temper the chocolate using your preferred method. (see this post for my easy method)
If you want to add colour to the chocolate, do so once it has been tempered.
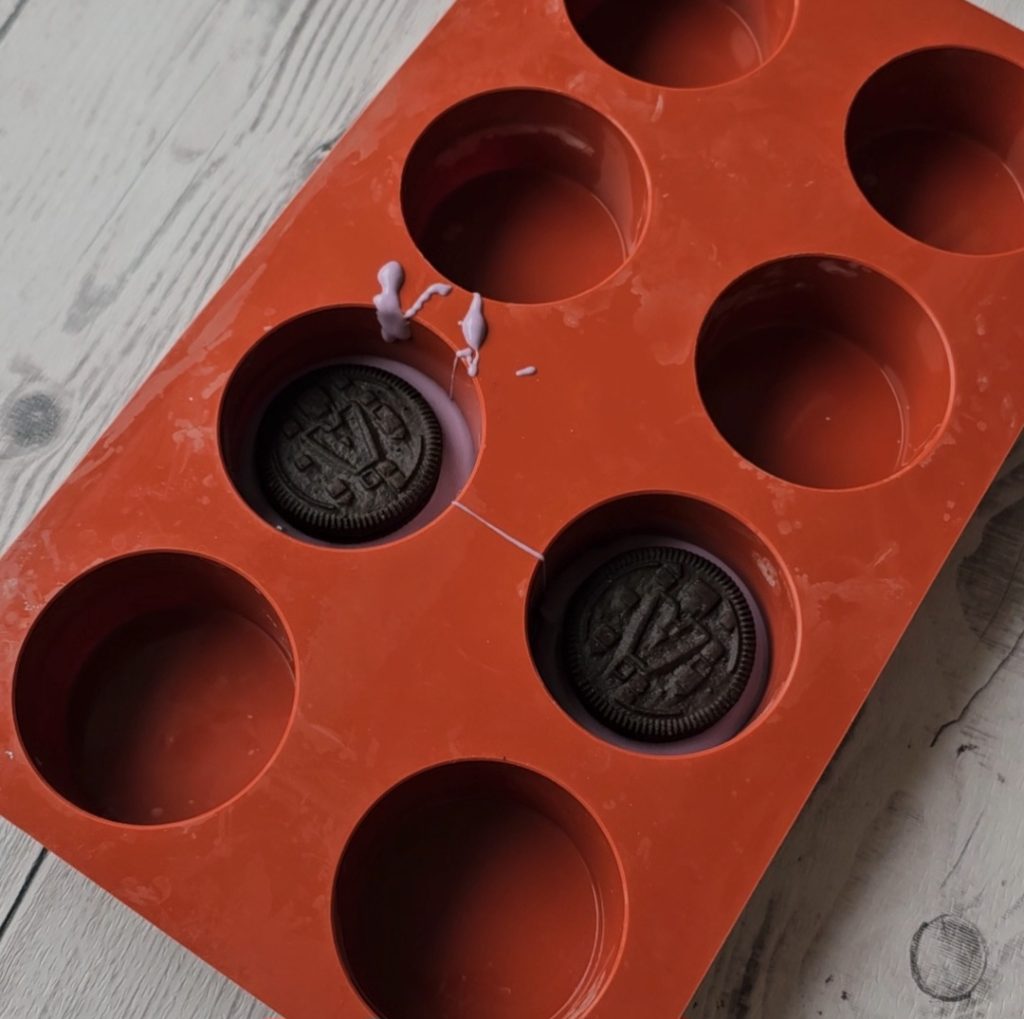
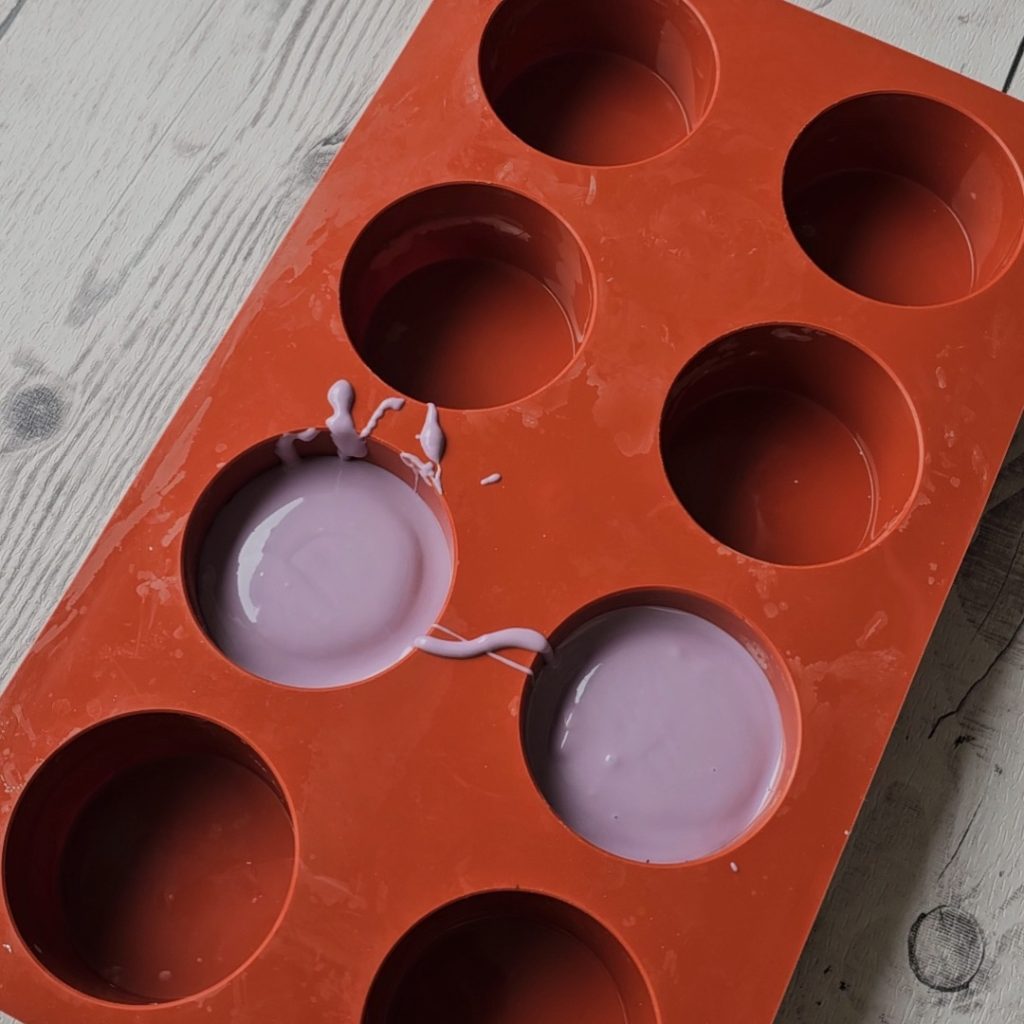
Next, cover the base of each mould with chocolate. Then, place an Oreo in each mould and cover it completely with chocolate.
Place the mould in the fridge to allow the chocolate to set. If you have excess chocolate you can leave this set and re-temper it on another day to use.
Once the chocolate has set, remove the mould from the fridge and transfer the Oreos onto a tray, plate or parchment paper for decorating.
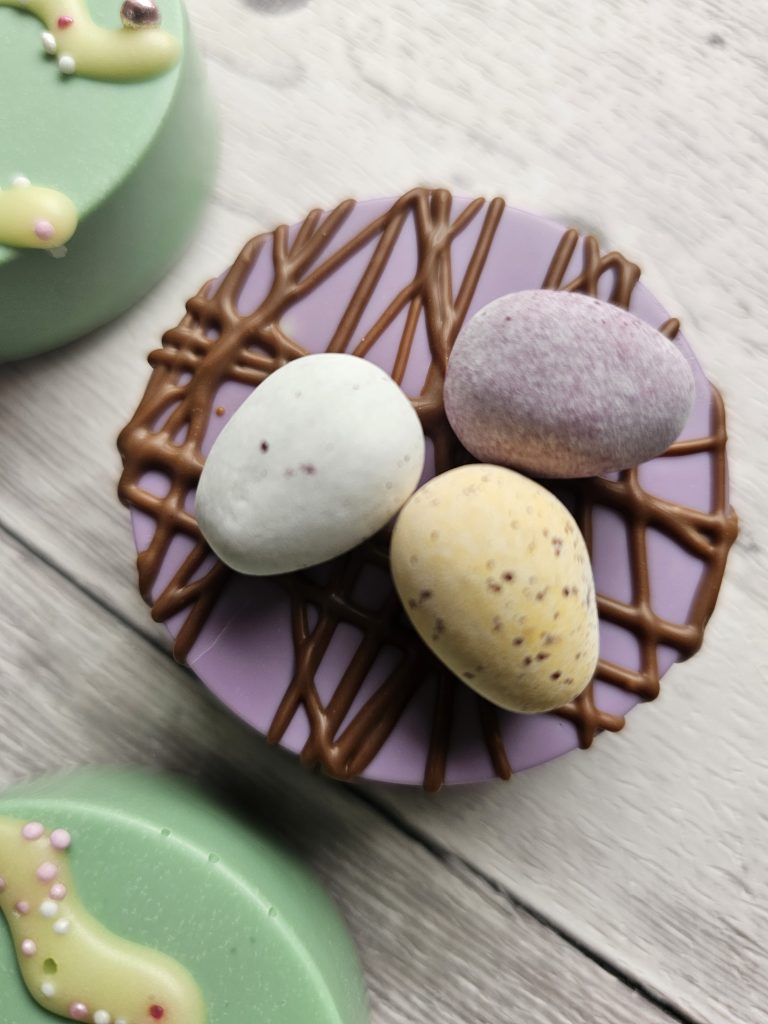
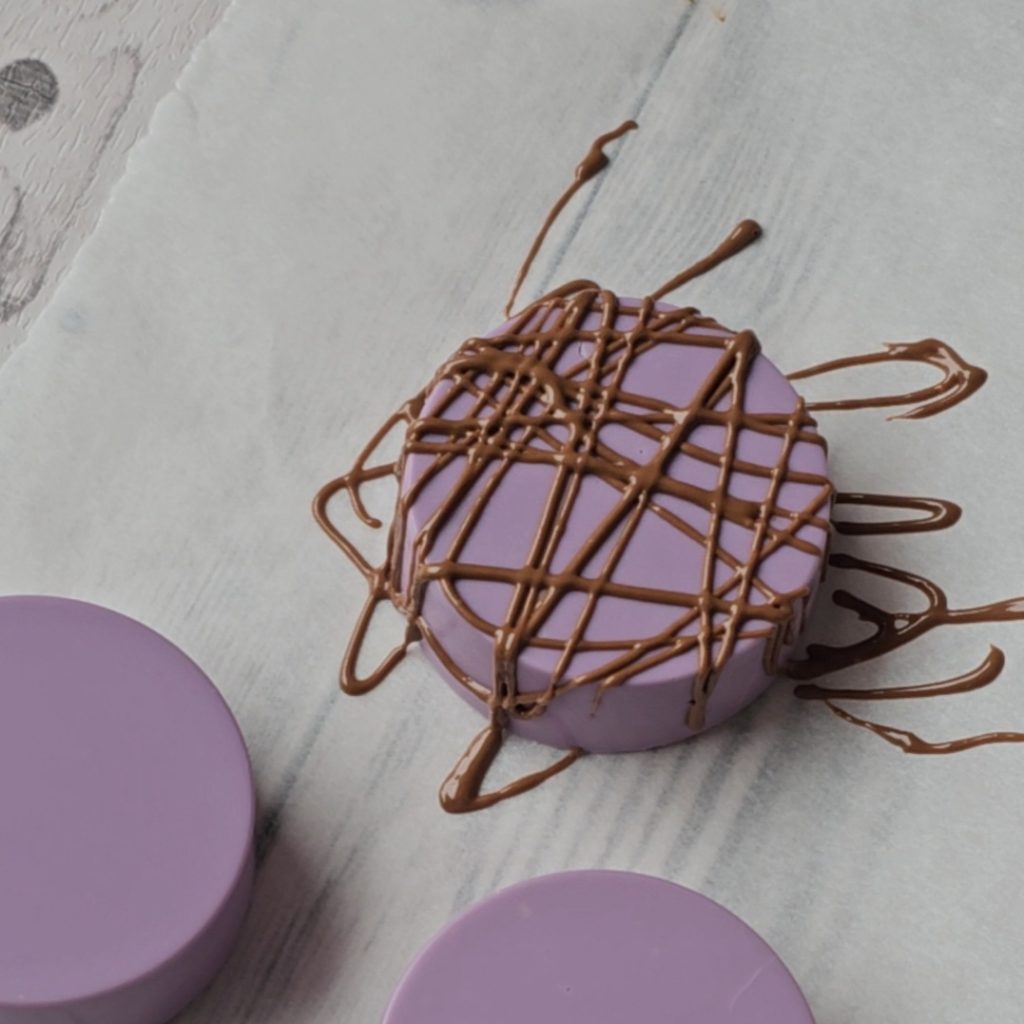
Temper some milk chocolate and place it in a piping bag. Use scissors to snip off the end of the piping bag and drizzle the milk chocolate over the Oreos.
While the milk chocolate is still wet, place Mini Eggs on top for decoration.
Leave the Oreos to set completely before storing them in an airtight container until ready to serve.
How else can I decorate my chocolate covered oreos?
- Sprinkles: Add some colour and texture to your chocolate covered Oreos by sprinkling them with rainbow sprinkles, chocolate sprinkles, or edible glitter.
- Change the colours to suit the season or occasion.
- Crushed candy canes: For a festive touch, crush some candy canes and sprinkle them over the Oreos.
- The list goes on and on, it would be great to see your creations.
Where to buy more specialised cake equipment
I buy a lot of my cake decorating bits and bobs from Cake Stuff (including Colourmill oils like this pink one which I love) I also go through a company called Topcashback which earns me cashback rewards on not just this purchase but so many more. Use this link to sign up.
As always Happy Baking and hope you enjoyed this tutorial!

