
10 tips to make the Best Buttercream ever
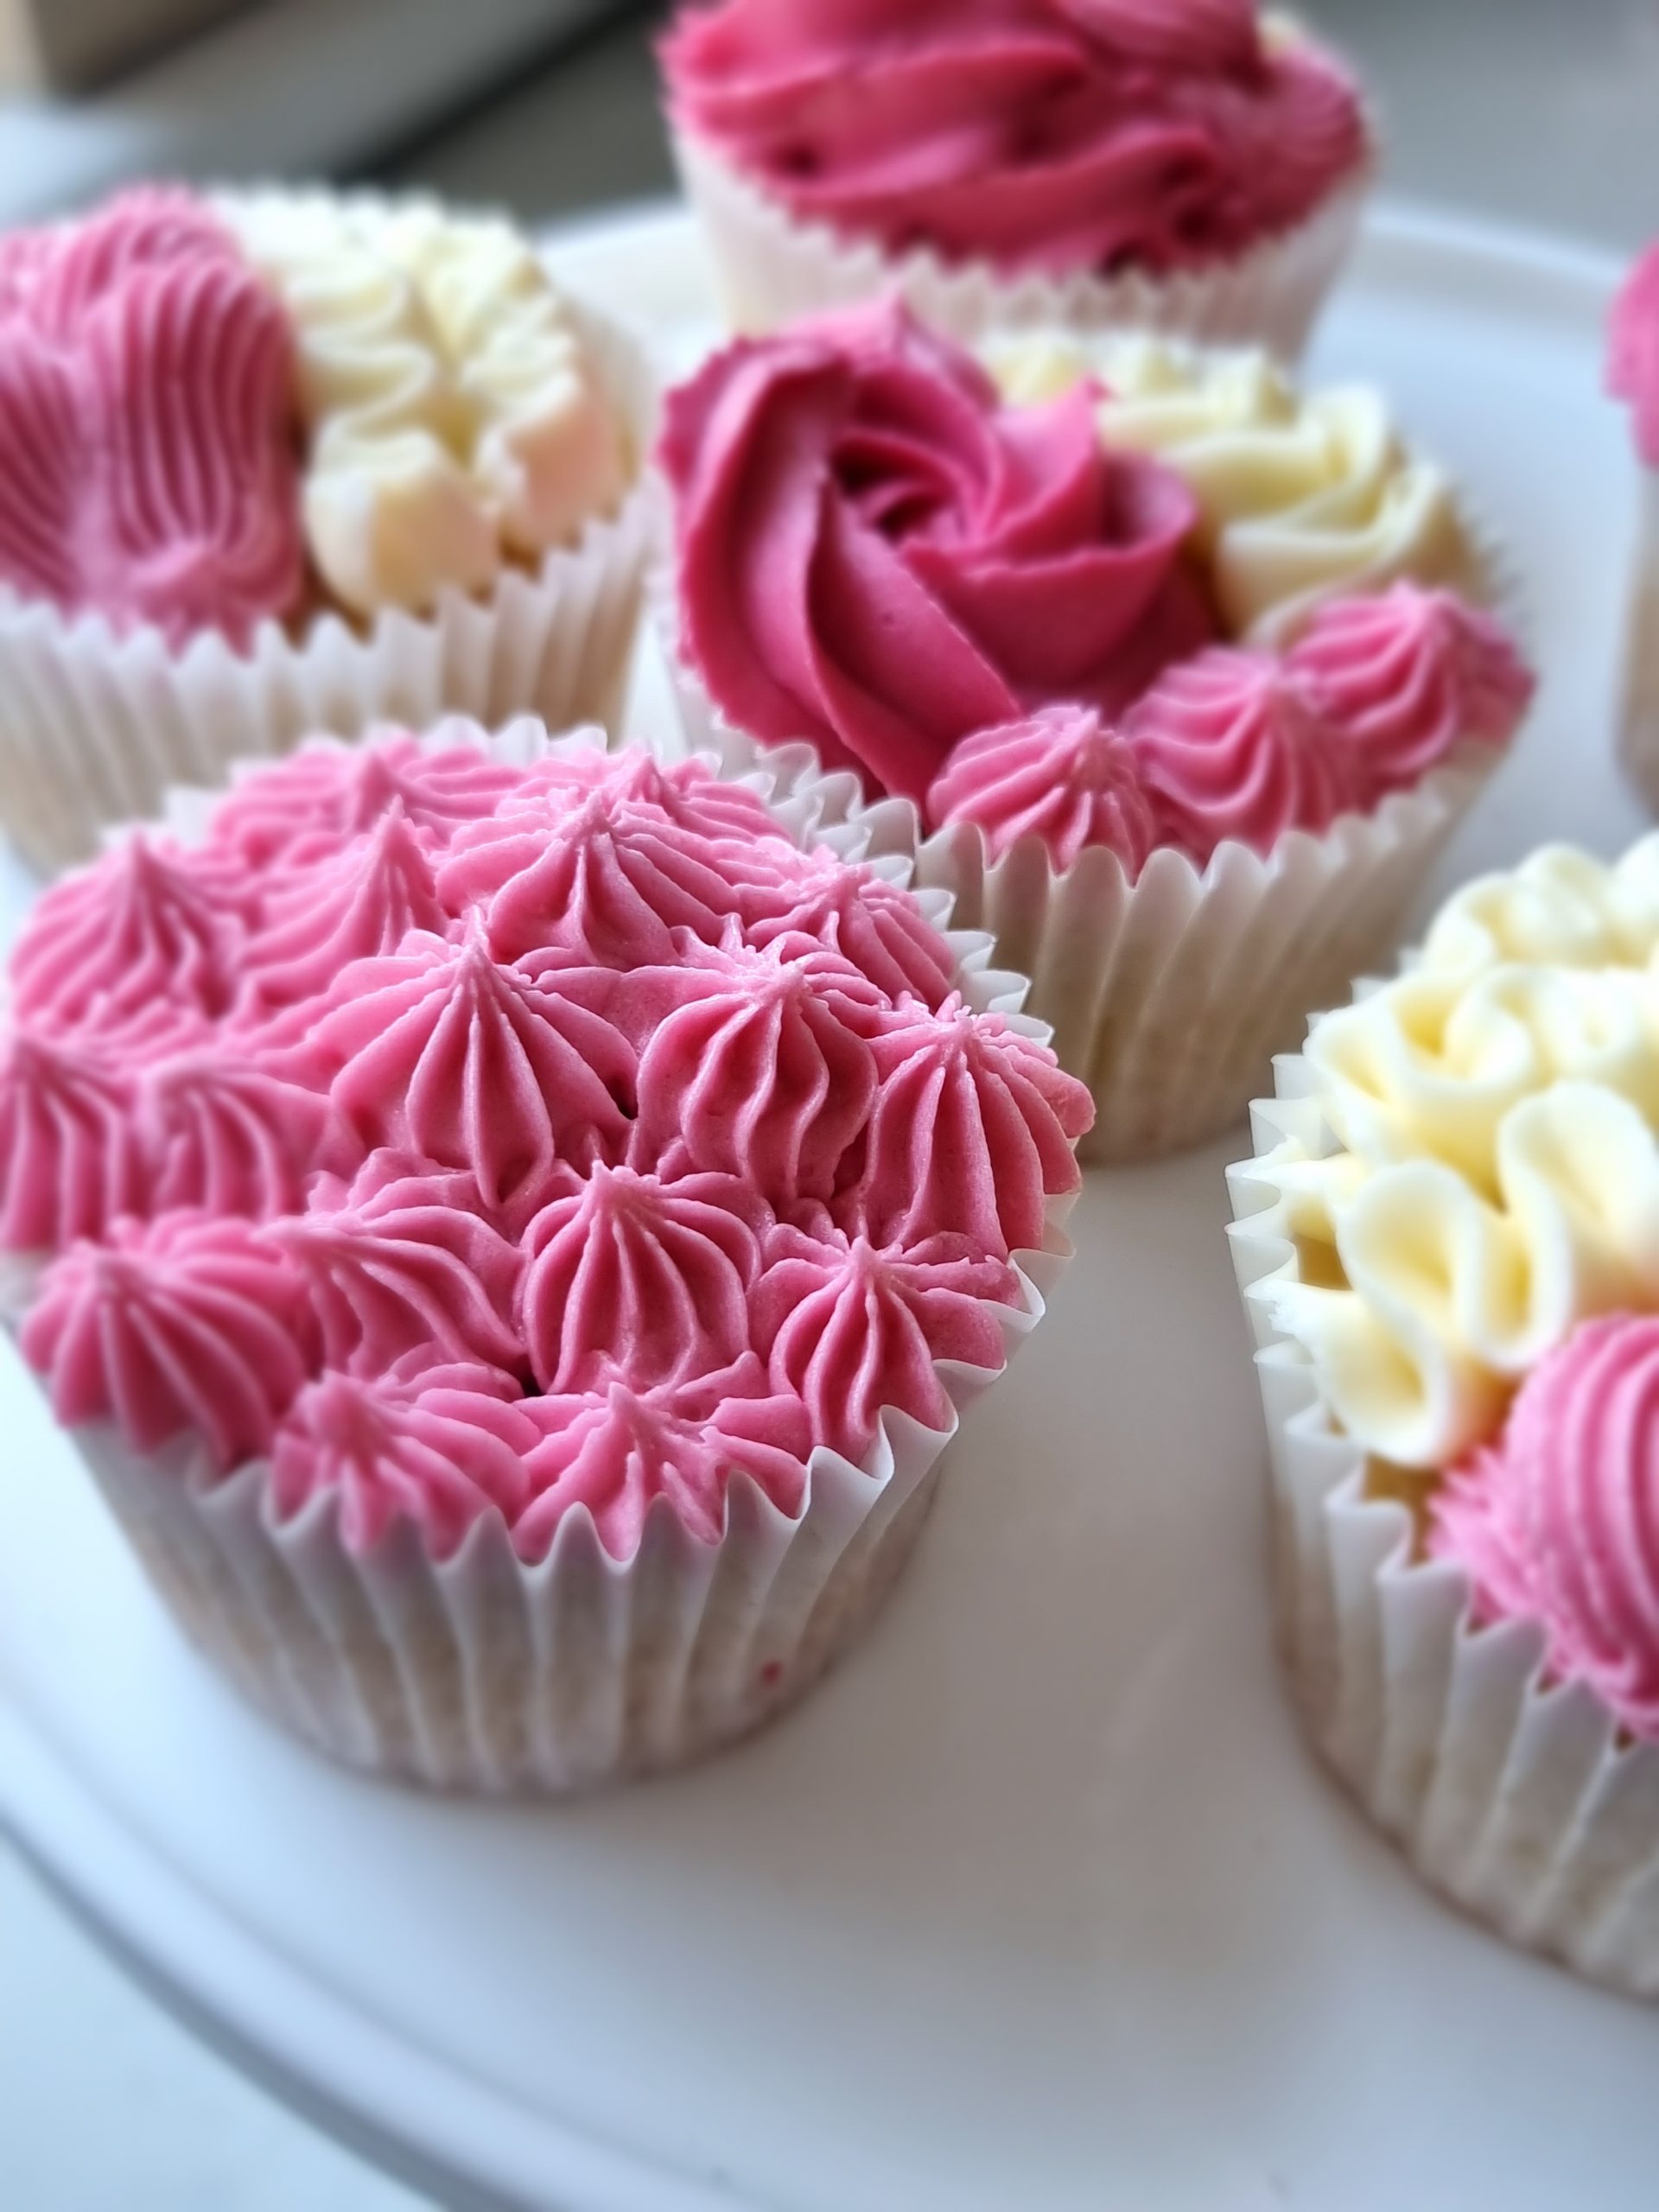
Buttercream icing is a staple for many cakes and cupcakes (take a look here for my perfect vanilla cupcake recipe).
I have 2 buttercream recipes that I use, this one is my favourite and it is fool proof. The other is a more basic recipe and can be found here.
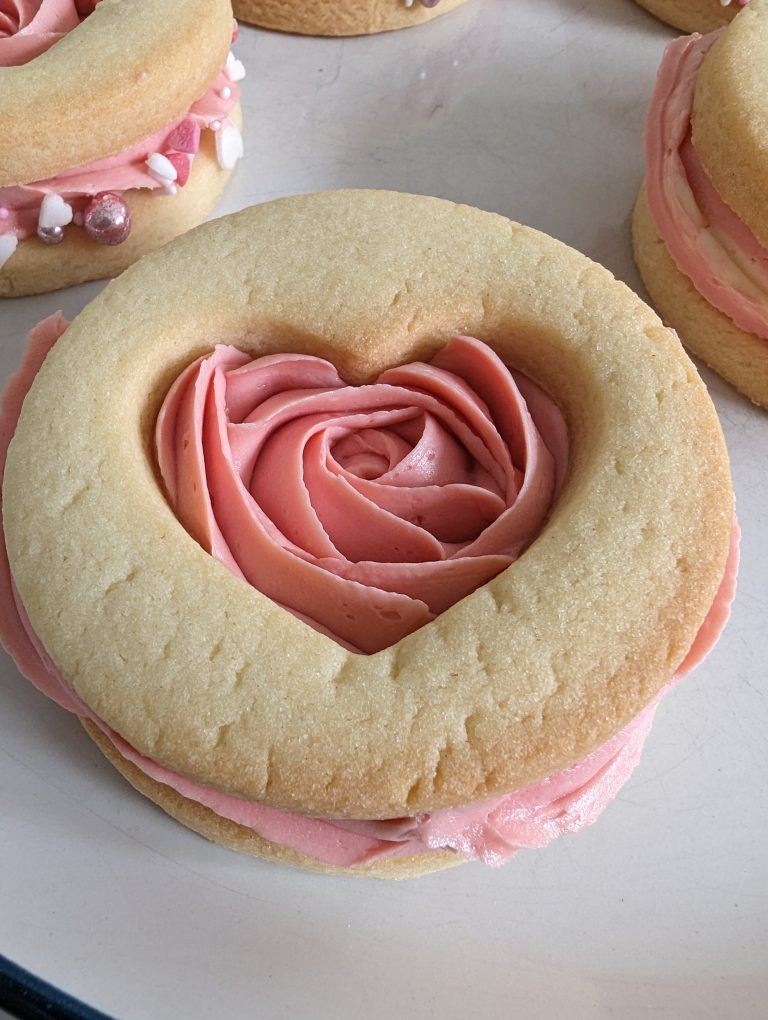
I like it sandwiched between cookies and even like to make a smorgasbord for dipping into with all sorts of treats placed around the board. However, getting the perfect texture and flavor can be challenging, especially for those new to baking.
That’s why I’ve put together 10 expert tips to help you create the best buttercream icing every time. Whether you’re a seasoned pro or a beginner, these tips will ensure your buttercream is silky smooth, creamy, and full of flavor. So, grab your mixer, and let’s get started!

Why is buttercream so difficult to perfect?
There are many reasons why you might find making the best buttercream but I believe these are some of the issues.
Consistency and temperature- this is probably the biggest problem around making the best buttercream. Buttercream can easily become too thin or too thick, making it difficult to spread or pipe. You need to start with the butter being the right temperature before you start mixing.
If you don’t get the butter to the correct temperature, it can be too runny to mix or can become stiff and difficult to work with.
This will also depend on what season it is and how warm it is in your house, so, what might work well in September might not work so well in March.
Lumps- lumpy icing sugar will mean your buttercream will look unsightly and will get clogged in your nozzles.
Air pockets- Over-mixing your buttercream will mean you will create air pockets, these are unsightly on cupcakes and can be difficult to work with on larger cakes.
How can I colour buttercream?
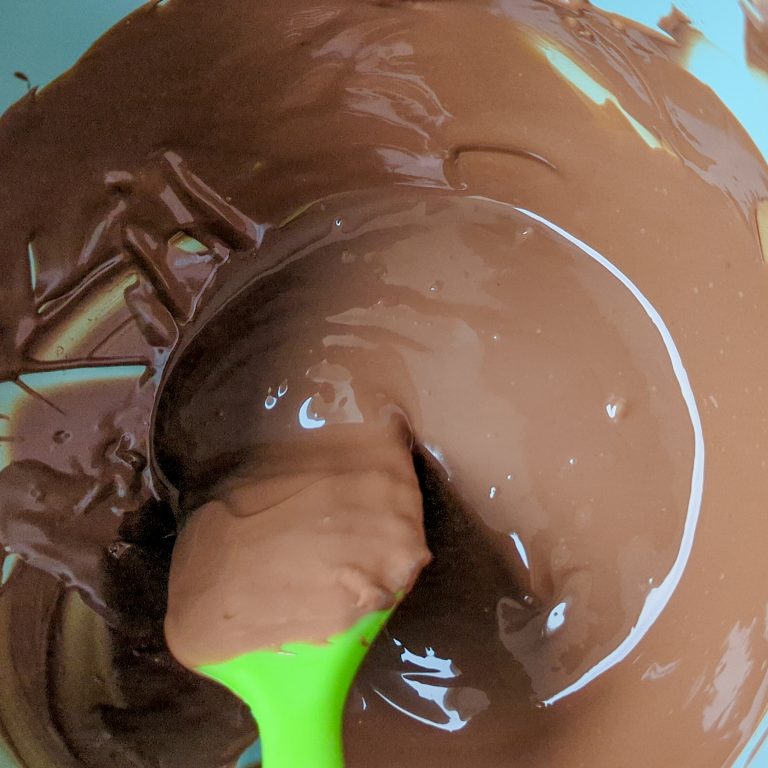
First off I would say carefully! My preferred choice of colours for using in my buttercream is gel pastes like these. I do like to use colour mill colours also and I use these for colouring tempered chocolate (see this post), or ganache as they are oil-based.
However, they are liquid and can make the consistency of the buttercream change. (Jump to the bottom of the post to see recommendations on where to buy colourmill oils from.)
Buttercream is naturally a yellowy colour so getting some colours like blue can be difficult to achieve as you will know adding yellow and blue creates green. Bear this in mind when adding colour to your buttercream, what I will say is do it slowly as you won’t be able to remove the colour at a later stage.

How do I get rid of air bubbles in my buttercream?
You might think that you won’t be able to get rid of air bubbles once you have them but this is not true. I have gotten rid of air bubbles many times (yes it has happened to me, mostly when I am being impatient about colouring my buttercream).
Let’s get rid of those bubbles then, I do this mostly by hand. Using a spatula slowly beat out the air bubbles, you can pop the buttercream into your stand mixer and put the speed on very slowly but I prefer to beat them out by hand- I find it quite satisfying! Take a look at this video which shows how I remove those pesky air bubbles.
How do I flavour buttercream?
I like to use high-quality extracts: Vanilla, almond, lemon, and mint are popular choices, but there are many others available. These are available in most supermarkets.
You could also use the zest of fruit, like lemon or orange which give that refreshing, fruit, tangy taste.
How should I store my buttercream?
So I usually make the buttercream as and when I need it… however, you can make it in advance and store it in an airtight container. Either in the fridge for up to 2 weeks or in the freezer for 3 months.
Just remember to take it out of the fridge before you need to use it to get it back to room temperature again. I normally take out the evening before but this will be dependent on the temperature in your house and the season.
If you do forget then you can always microwave it in short bursts (no more than 10 seconds at a time), but do be careful if you do this as you can easily end up with a greasy mess if it’s in for too long!
What equipment do I need to make buttercream?
Stand mixer– I believe this is the best tool. You need to whip your butter on high speed to get it nice and fluffy. ( and I love it for whipping up the butter)
You can use a handheld mixer *(this has great reviews)* to make buttercream but if you do please pay attention to tip 2 otherwise you will send your hand mixer to mixer heaven – believe me I know, I think I went through 3 in a week once!
Spatula
Teaspoon
Sieve (if necessary)
Flavours and Colours where required
Now I have covered some questions let’s get to those all important top tips to make the best buttercream ever!
10 Tips to make the Best Buttercream ever
1 Make sure your butter is at the right temperature before you start. I covered this earlier on, and I truely feel this is the most important step. Not chilled straight from the fridge but you should be able to put a dent in it comfortably.
2 Once you have beaten your butter well then add your icing sugar and stir with a fork or spatula- this won’t mean you get the best buttercream but it will save your hand mixer and a whole heap of mess, trust me! (In my first years of baking I remember there being a week where I went through 3 hand mixers- seriously. I always went straight in with the hand mixer, there would be a great big mess and the icing sugar would get clogged in the mechanism)
3 Sift your icing sugar beforehand, this isn’t always necessary but if you want to ensure you have the best buttercream possible then do this. I use icing sugar from Lidl and fresh out of the box it rarely needs sifting. However, if the box has been opened then the air can get into it and leave clumps that will not break down.
4. Gradually add liquid to adjust the consistency. If your recipe requires milk/ water after you have combined the butter and icing sugar then go steady with this, even a small amount will tip your buttercream from perfect to too runny.

5. Add flavor extract to taste. I love vanilla buttercream but I also love experimenting with other flavours to complement different sponge flavours.
6. Mix your butter on high speed for a lighter and fluffier consistency. I do this for 10 minutes with my recipe! Yes 10 minutes, it breaks the butter down and it also does lighten the colour of the butter too.
7. Use a paddle attachment instead of a whisk for thicker icings. I have never tried to use a whisk attachment for American buttercream. If I was making an Italian meringue or Swiss meringue,then I would use the whisk attachment. This is not suitable for your standard American buttercream.
8. If you find buttercream way too sweet then do add a touch of salt to enhance the sweetness. You could also switch from unsalted butter to salted butter. Alternatively, you could try out my recipe which you can buy here! It really is worth it and it is simply butter and icing sugar, no milk/ water, it is also butter heavy which means it’s not as sweet as most recipes.
9. Experiment with different consistency for specific uses (e.g. stiff for piping). You might find that you prefer different consistencies depending on whether you are piping onto cupcakes or whether you layering or covering a cake.
10. Use high-quality ingredients for the best flavour and texture. This tip you can take or leave, I don’t think you need to have the high-end ingredients but if you are making a special cake for someone and want the best flavours then go ahead. What I will say though is I love Lidl icing sugar!

Where to buy more specialised cake equipment
I buy a lot of my cake decorating bits and bobs from Cake Stuff (including Colourmill oils like this pink one which I love). I also go through a company called Topcashback which earns can earn you cashback rewards on not just this purchase but so many more. Use this link to sign up


3 Comments